How to Prepare Your Home HVAC System for Winter Before the First Cold Snap
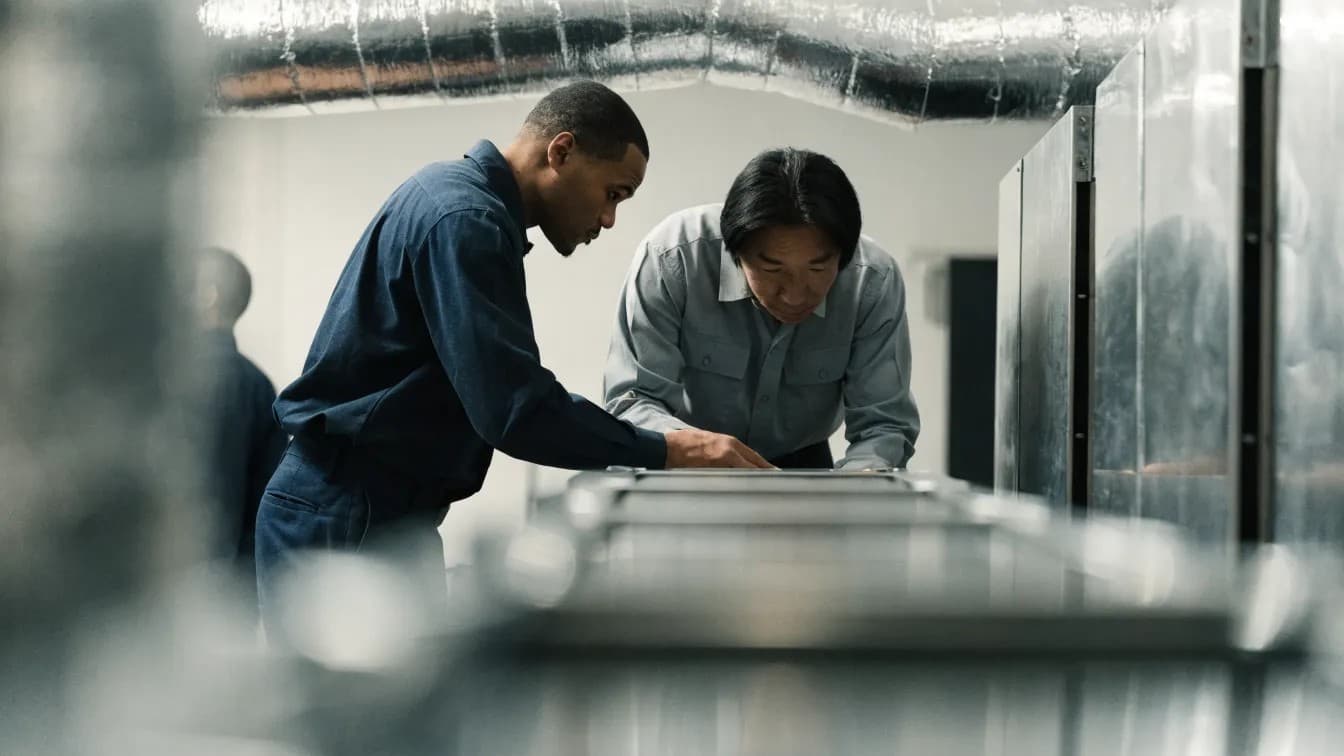
A heating failure on the coldest night of the year is not bad luck. In most cases, it is the result of deferred maintenance. Preparing your HVAC system before winter arrives is one of the most consequential steps a homeowner can take to protect both comfort and a significant capital investment. This guide walks through each stage of a thorough pre-winter inspection and service routine, in logical sequence, with the reasoning behind each step explained.
Why Pre-Winter HVAC Maintenance Matters
Heating accounts for approximately 42% of energy use in the typical American home, according to the U.S. Department of Energy. A system fighting clogged filters, leaking ducts, or a failing igniter consumes substantially more energy to deliver the same heat output, according to the Air Conditioning Contractors of America (ACCA). Routine maintenance directly reduces that waste and lowers utility bills in measurable terms.
The financial case extends beyond monthly bills. Heating equipment that receives annual professional service tends to outlast manufacturer baseline replacement intervals by years, according to HVAC industry service records. Neglected systems accumulate wear faster because small faults escalate: a dirty flame sensor causes repeated lockouts; repeated lockouts stress the control board; a failed control board requires a costly replacement. Catching problems in autumn costs far less than emergency repair in January, when service calls carry steep premiums and parts delays are common.
Filter Replacement: The Task Every Homeowner Can Do
Filter replacement is the single maintenance task that requires no specialist tools. A clogged filter restricts airflow, forces the blower motor to work harder, and degrades indoor air quality. For standard 1-inch filters in typical residential use, inspect monthly and replace every one to three months depending on occupancy, pets, and local dust levels.
Higher-MERV-rated filters (MERV 13 and above) capture finer particulates but create greater static pressure across the return plenum. Consult your system's documentation before upgrading: many residential furnaces are rated for MERV 8 or MERV 11 maximum. Installing a filter above the system's design rating reduces airflow enough to trigger high-limit switches and cause short-cycling, where the furnace fires, reaches temperature quickly, shuts down, then restarts in rapid succession, consuming more fuel and reducing comfort.
When installing a replacement filter, confirm the airflow direction arrow on the filter frame aligns with air movement toward the blower cabinet. An incorrectly seated filter allows unfiltered air to bypass the media entirely. Check that the filter fits snugly, with no gaps around the perimeter where particulate can slip past.
Heat Exchanger, Burners, and Flame Sensor
The Heat Exchanger
The heat exchanger separates combustion gases from the air circulated through your living spaces. A cracked or corroded exchanger can allow carbon monoxide to enter the home, creating a direct health hazard. This component cannot be safely assessed by visual inspection alone: a qualified HVAC technician uses a combustion analyzer to measure flue gas composition and, in many cases, inserts a borescope camera to examine internal surfaces for fissures or corrosion.
Schedule this inspection annually, ideally in September or October, before the heating season begins. Many manufacturers condition warranty coverage on documented annual professional inspection, so keeping those records matters.
Burners and Flame Sensor
Gas burners accumulate carbon and metal oxide deposits that cause uneven flames, delayed ignition, and incomplete combustion. Cleaning burners, inspecting the igniter element for erosion, and testing the flame sensor form the core of any professional pre-winter service call. The flame sensor is particularly prone to fouling: a dirty sensor causes repeated lockouts where the furnace fires, extinguishes immediately, waits a reset period, and tries again. Homeowners should not attempt burner cleaning or sensor testing without appropriate training, as gas supply lines carry serious risk if reassembled incorrectly.
Thermostat and Control System Checks
Switch the thermostat from cooling to heating mode and run the system through a full cycle before cold weather arrives. Confirm the heat turns on within 30 to 60 seconds of demand, the blower operates at the expected speed after a brief pre-purge delay, and the temperature rises to the set point without overshooting by more than a degree or two. Short-cycling, unusual odours on first use, or grinding noises all warrant a technician's attention before you depend on the system for winter.
If you use a programmable or smart thermostat, verify that heating schedules match your winter occupancy patterns. Most heating professionals recommend a minimum setback temperature no lower than 55°F (13°C) during unoccupied periods, particularly in homes with poor insulation or pipes routed near exterior walls.
Vents, Registers, and Ductwork
Supply and Return Registers
Walk through each room and confirm that both supply registers and return registers are unobstructed. Furniture, curtains, seasonal storage, and closed doors frequently block registers, disrupting the airflow balance across the system. Each blocked register forces conditioned air to find alternative paths, creating comfort inconsistencies where some rooms reach set point while others remain noticeably cooler.
Duct Sealing
Ducts passing through unconditioned spaces (attics, crawlspaces, basements, or garages) are susceptible to heat loss and uncontrolled infiltration. Inspect all accessible ductwork for loose sheet-metal joints, holes or punctures, and insulation that has deteriorated or compressed. Seal duct leaks with mastic sealant or approved UL-listed metallic tape; standard duct tape degrades as the adhesive dries and the tape curls away.
For largely inaccessible ductwork, a professional duct pressure test conducted per ASHRAE 152 protocol can quantify total leakage as a percentage of system airflow. Leakage above 15% of system airflow, according to ASHRAE guidance, justifies professional sealing.
Flue, Venting, and Combustion Air
Inspect all accessible sections of flue pipe for corrosion, disconnected joints, and blockages. Birds, insects, and seasonal debris can obstruct exterior vent terminations during the off-season. Clear any obstruction and confirm the vent cap is intact and properly angled to shed water and snow.
Modern high-efficiency furnaces (those rated at AFUE 90% or higher by the manufacturer) draw combustion air from outside through a dedicated PVC pipe. Confirm that inlet is unobstructed and the pipe shows no cracks or separations at joints. Insufficient combustion air causes incomplete burning, elevated carbon monoxide production, and safety lockouts.
Outdoor Equipment and Heat Pump Considerations
Clear debris from around the outdoor condensing unit, trim vegetation to maintain at least two feet of clearance on all sides, and inspect the refrigerant lines for damaged or missing insulation. Do not enclose a heat pump in an airtight cover: heat pumps operate year-round and require unobstructed airflow. Solid enclosures restrict airflow enough to trigger high-pressure refrigerant lockouts.
A thin layer of frost on the outdoor coil during heat pump operation is normal and self-correcting through the defrost cycle. Solid ice that persists through multiple defrost cycles (typically recurring every 30 to 90 minutes in cold, humid conditions, according to heat pump manufacturer specifications) indicates a fault in the defrost control board, a failed sensor, or a low refrigerant charge. Have a technician evaluate this before temperatures drop further.
Scheduling a Professional Tune-Up
A qualified technician performing a pre-winter service visit will measure refrigerant charge, conduct a combustion efficiency test, verify all safety controls and limit switches, inspect electrical connections for corrosion, lubricate blower and motor bearings where applicable, and document performance data for year-on-year comparison. This is the diagnostic layer that catches what visual inspection cannot: slow refrigerant loss, combustion efficiency decline, or electrical issues that precede failure by weeks.
Annual service is also frequently a condition of manufacturer warranty coverage, which typically requires proof of professional maintenance. Review your equipment documentation to confirm specific requirements.
Book in late August or September. HVAC companies carry their heaviest scheduling load from late October through January. Booking early secures the appointment at lower demand, allows parts to be ordered without urgency, and often qualifies you for early-season pricing discounts offered by many contractors during their slower months.
Conclusion: Act Before the Temperature Drops
Effective HVAC winter maintenance is a structured sequence of checks, cleanings, and professional inspections carried out while conditions still allow unhurried, thorough work. Filter replacement, thermostat verification, duct inspection, flue checks, and a professional service call together form a maintenance programme that reduces energy consumption, extends equipment life, and eliminates most preventable winter failures.
Begin now. Contact a licensed HVAC contractor to schedule your annual heating inspection, work through the homeowner tasks outlined above, and enter the heating season with full confidence in your system.